
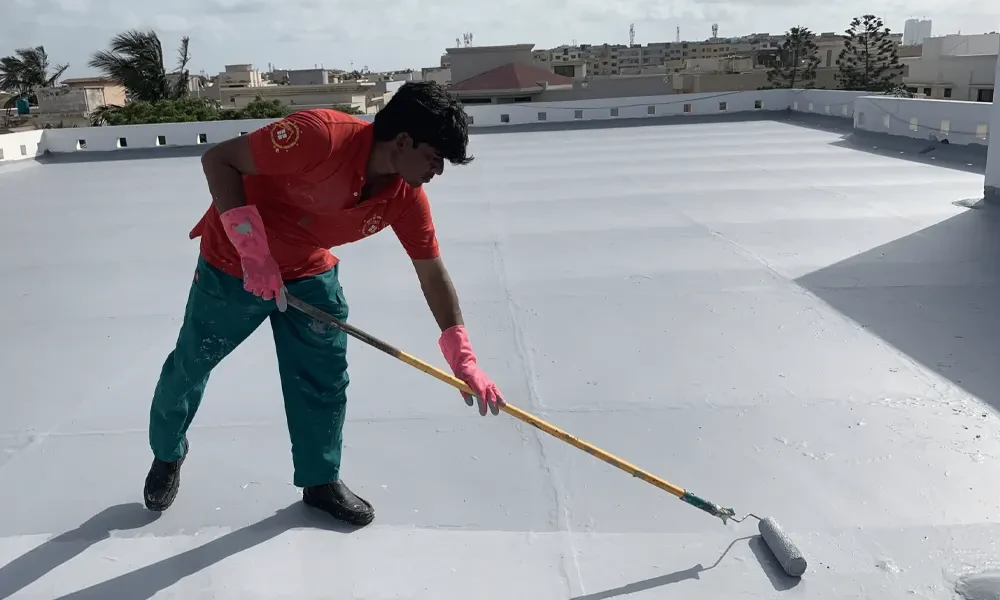
Torch on membrane is one of the most widely used waterproofing systems for flat and low-slope roofs in Singapore, yet many property owners approving its use have only a vague sense of what actually happens during application. Understanding how torch on membrane waterproofing actually works clarifies why proper installation technique matters as much as the material itself.
What Torch On Membrane Actually Is
The material is a bitumen-based sheet reinforced with polyester or fibreglass, supplied in rolls, that becomes adhesive when heated and bonds to a prepared substrate as it cools, forming a continuous waterproof layer across the treated area.
The Substrate Preparation Stage
The existing surface is cleaned, repaired where cracked or uneven, and primed before any membrane is applied, since the membrane’s adhesion depends entirely on a sound, properly prepared substrate underneath it rather than the membrane’s own adhesive properties alone.
How the Torching Application Process Works
A gas torch heats the underside of the membrane roll as it is unrolled across the substrate, melting the bitumen layer just enough to bond firmly to the surface beneath without overheating and damaging the reinforcement within the membrane itself. Understanding how the torching temperature is controlled during application clarifies why this stage demands genuine skill rather than simply following the material’s basic instructions.
Overlap and Sealing at the Joints
Each membrane roll overlaps the previous one by a specified margin, and this overlap is torched and sealed with particular care, since a joint is the most common point of failure in an otherwise well-installed membrane system if it is not heated and bonded properly.
Where Torch On Membrane Suits Best
This system suits flat and low-slope roofs, podium decks, and other large, relatively accessible horizontal surfaces well, though it is less practical for tight, awkward spaces like a small bathroom where the torching process is harder to control safely.
Comparing It to Liquid-Applied Systems
A liquid-applied coating suits complex shapes and penetrations more easily than a sheet membrane, while torch on membrane generally offers greater thickness and puncture resistance for a large, open area, making the choice between the two depend heavily on the specific surface geometry involved.
Fire Safety Considerations During Application
The torching process involves an open flame near a building’s surface, which makes fire safety precautions, clearing combustible material, having fire extinguishing equipment on hand, a genuine part of the process rather than an afterthought, and a competent applicator treats this seriously throughout the job.
Expected Lifespan of a Properly Installed Membrane
A properly prepared and applied torch on membrane system typically lasts well over a decade under normal exposure, though this lifespan depends heavily on preparation quality and application technique rather than the material specification alone.
Common Installation Mistakes to Avoid
Insufficient substrate preparation, inconsistent torching heat leaving cold spots at joints, and inadequate overlap are the most frequent causes of early failure, and each traces back to installation technique rather than any inherent weakness in the material itself.
How Weather Conditions Affect Application Quality
Torch on membrane application generally requires dry conditions and a reasonably stable temperature, since installing over a damp substrate traps moisture beneath the membrane and undermines adhesion regardless of how carefully the torching itself is performed. A contractor who proceeds with application during clearly unsuitable weather, purely to keep to a schedule, is taking a shortcut that often surfaces as a failure months later rather than immediately.
Inspecting the Work Once It Is Complete
A visual inspection after installation should show consistent, fully bonded seams with no visible gaps or scorched, overheated patches, and a flood test held for a set period confirms the system actually performs before any protective screed or covering is applied on top. Skipping this inspection step removes the only real opportunity to catch a defect before it becomes hidden beneath a finished surface.
Why Protective Screed Matters After Installation
A protective screed or paver layer applied over the finished membrane shields it from direct UV exposure and foot traffic damage, both of which shorten the membrane’s working life considerably if it is left permanently exposed on an accessible roof or deck. Confirming this protective layer is included in the overall project scope, not treated as an optional extra, is worth clarifying before work begins rather than after the membrane is already installed.
Maintenance That Extends the System’s Working Life
Periodically clearing debris, checking for any physical damage from foot traffic or falling objects, and addressing any small puncture promptly all extend a torch on membrane system’s working life considerably beyond what a completely unmaintained roof would achieve. This maintenance is minimal compared with the disruption of a full re-waterproofing once the system genuinely fails and needs complete replacement.
Understanding the Method Before You Specify It
Understanding how torch on membrane waterproofing actually works, from substrate preparation through to joint sealing, helps a property owner ask better questions of a prospective contractor and judge whether a proposed installation is likely to perform as genuinely expected. Proper technique, not just the material itself, is what ultimately determines whether the system succeeds over its full working life.
