
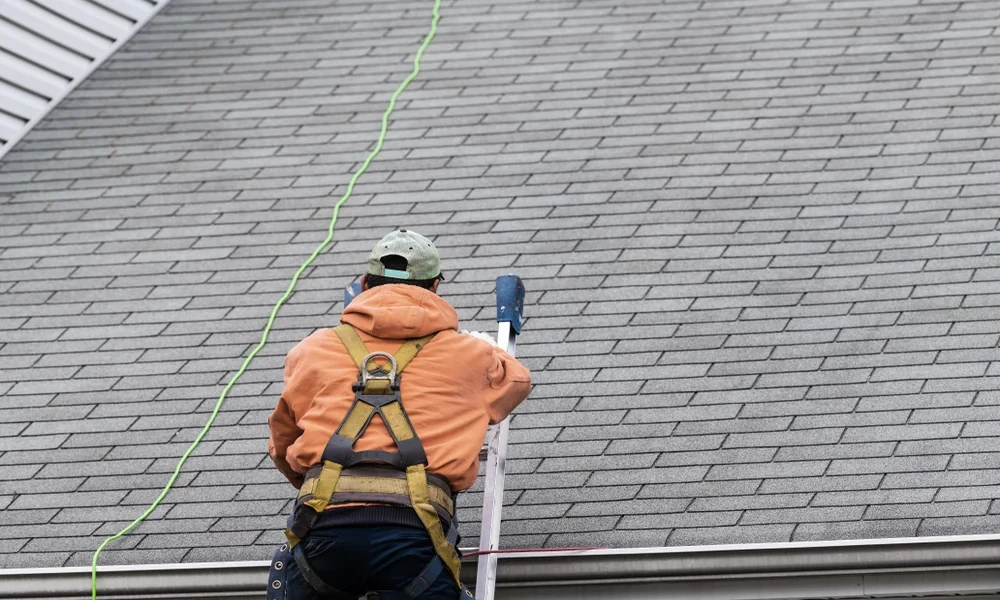
A new roof is one of the biggest investments you will make in your home, and for many people the hardest part is not the cost. It is the unknown. How loud will it be? Will the yard be a mess? How long will the house be exposed? Knowing what happens from the moment the crew arrives to the final walkthrough takes most of the stress out of the process. Working with an experienced team like B&K Roofing also helps, because a good contractor explains each stage before it begins instead of leaving you guessing.
Here is how a typical roof replacement unfolds.
Before the Crew Arrives
The work starts before the first truck pulls up. A few simple preparations protect your belongings and keep the day running smoothly:
- Move vehicles out of the driveway and away from the house so materials and dumpsters have room.
- Clear the perimeter of patio furniture, grills, planters, and anything fragile close to the walls.
- Take items off interior walls, especially in the attic and top-floor rooms. Hammering vibrates the whole structure, and pictures and shelves can shift.
- Cover attic belongings with sheets or plastic, since fine dust can drift through gaps.
- Tell your neighbors a project is coming, especially if your driveways are close together.
If you have pets or small children, plan for a quiet space away from the noise.
Morning: Protection and Tear-Off
Most crews begin early. The first step is protecting your property, not tearing anything off. Tarps go over landscaping and outdoor features, and a magnetic tool or rolling sweeper is often used later to catch stray nails.
Then comes the tear-off, the loudest and messiest part of the day. Crew members strip the old shingles and underlayment down to the bare roof deck. Expect scraping and thumping overhead, and debris sliding into a dumpster or onto a protected tarp.
Once the deck is bare, the crew inspects it closely. This is the moment hidden problems come to light. Soft or rotted decking, water-damaged sheathing, and warped boards cannot be seen from the ground, and they must be repaired before anything new goes down. A professional crew will show you what they find and explain the repair rather than quietly adding it to your bill.
Midday: Building the Layers Under the Shingles
Homeowners usually picture shingles when they think of a roof, but the layers beneath do much of the protecting. A typical installation includes:
- Drip edge along the eaves and rakes, which guides water into the gutters and away from the fascia.
- Ice and water barrier in vulnerable areas such as eaves and valleys, giving extra protection where leaks most often start.
- Underlayment across the whole deck, a secondary water-resistant layer under the shingles.
- Flashing around chimneys, skylights, vents, and wall intersections, where most roof leaks actually begin.
This stage is the one most worth asking about. Cutting corners on flashing and underlayment saves a contractor a little time but can cost you years of trouble. When you review a proposal, ask what products will go under the shingles, not just on top of them.
Afternoon: Shingles, Ventilation, and Finishing Touches
With the foundation in place, the visible part of the roof goes on quickly. Shingles are installed in rows from the bottom up, each course overlapping the one below and nailed according to the manufacturer’s pattern. Proper nailing matters more than most people realize, because shingles that are nailed too high, too low, or at an angle can lift in strong wind.
Ventilation is installed at the same time. Ridge vents, soffit vents, or other exhaust options let hot, humid air escape from the attic. Good airflow extends shingle life, reduces moisture problems, and helps control indoor temperatures through the year. Finally, ridge caps are applied along the peaks to seal the top of the roof.
The Final Hour: Cleanup and Walkthrough
A careful crew does not leave until the property looks the way they found it, or better. Cleanup usually includes:
- Sweeping the roof, gutters, and surrounding grounds
- Running a magnetic sweeper over the lawn, driveway, and flower beds to pick up nails
- Removing tarps and hauling away all debris
- Checking that gutters and downspouts are clear of shingle granules and scraps
Many contractors then do a walkthrough with the homeowner. Take this opportunity to ask questions, look over the finished work, and confirm that any agreed repairs were completed. Ask for warranty paperwork at this stage too, including both the manufacturer’s coverage and the contractor’s workmanship guarantee.
Questions Worth Asking Before You Sign
Not every roofing company runs a job the same way. Before committing, consider asking:
- Who will be on site, and is the crew employed directly or subcontracted?
- What happens if rain moves in before the roof is dried in?
- How are hidden decking repairs priced and approved?
- What warranties come with the materials and the labor?
- Are licensing and insurance documents available to review?
For general guidance on what to look for in a reputable roofer and what a solid installation involves, the National Roofing Contractors Association offers resources written for homeowners and professionals alike.
How Long Does It Really Take?
Most average-sized residential roofs are finished in one to three days, depending on size, pitch, complexity, and weather. Steeper roofs, multiple layers of old shingles, extensive decking repair, or lots of skylights and dormers can stretch the schedule. A good contractor gives you a realistic estimate up front and keeps you updated if conditions change.
Final Thoughts
A roof replacement looks chaotic from the outside, but the work follows a clear order: prepare, tear off, inspect, build the protective layers, install the shingles and ventilation, clean up, and review. Knowing the sequence helps you spot a well-run job and ask smart questions along the way. If you are considering a new roof, choose a team that explains each step, protects your property, and stands behind its work once the last nail is in.
